
Add views and attach drawings
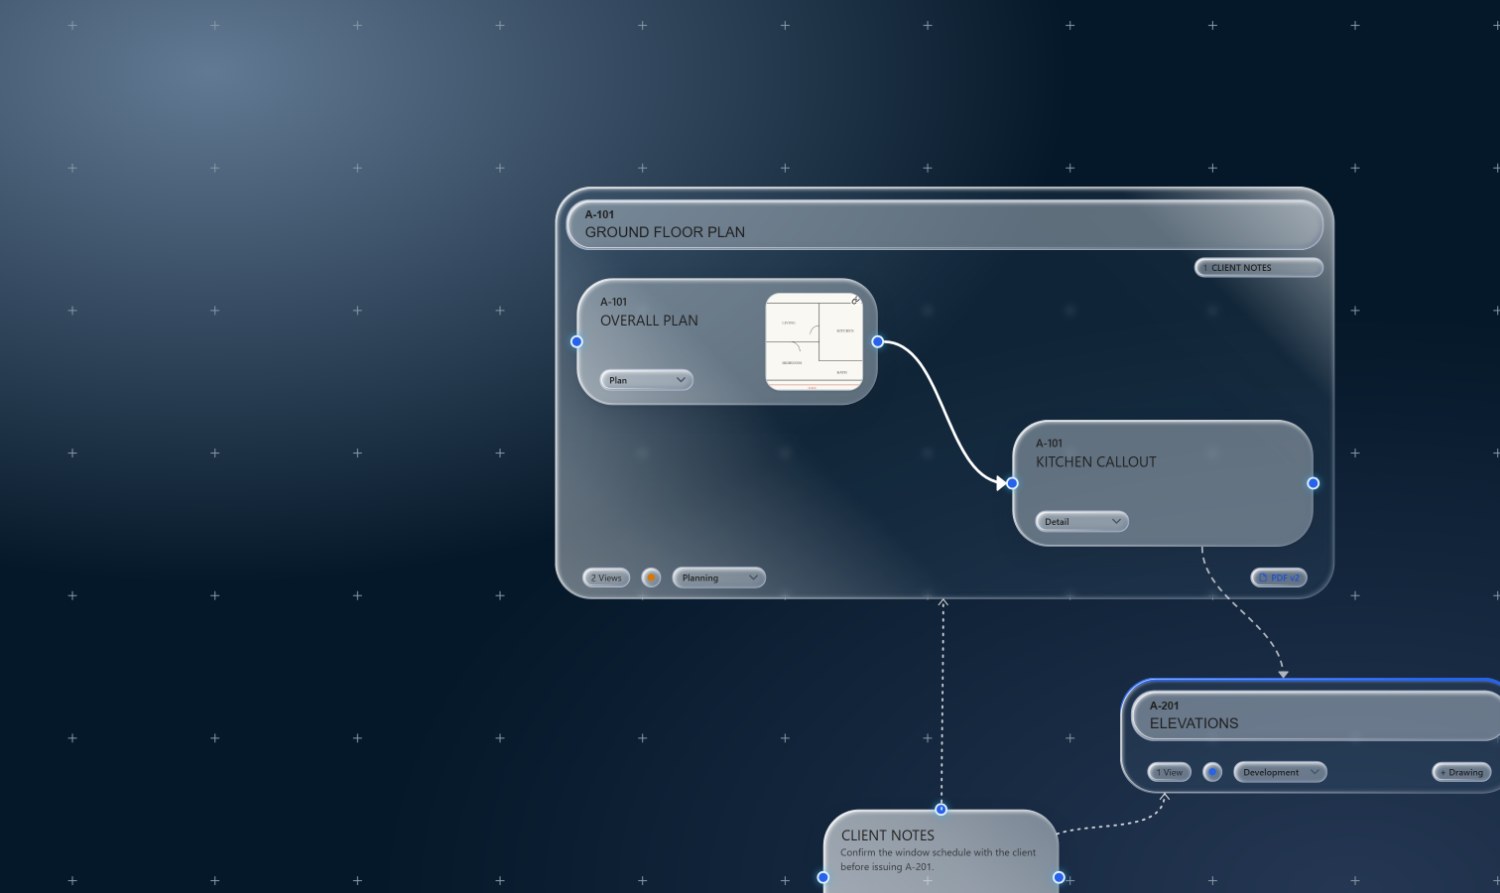
A sheet is a frame; views are what fill it. Each view can carry a real drawing, such as a PDF or image, so your canvas shows the actual artwork, not just empty boxes.
Place a view on a sheet
-
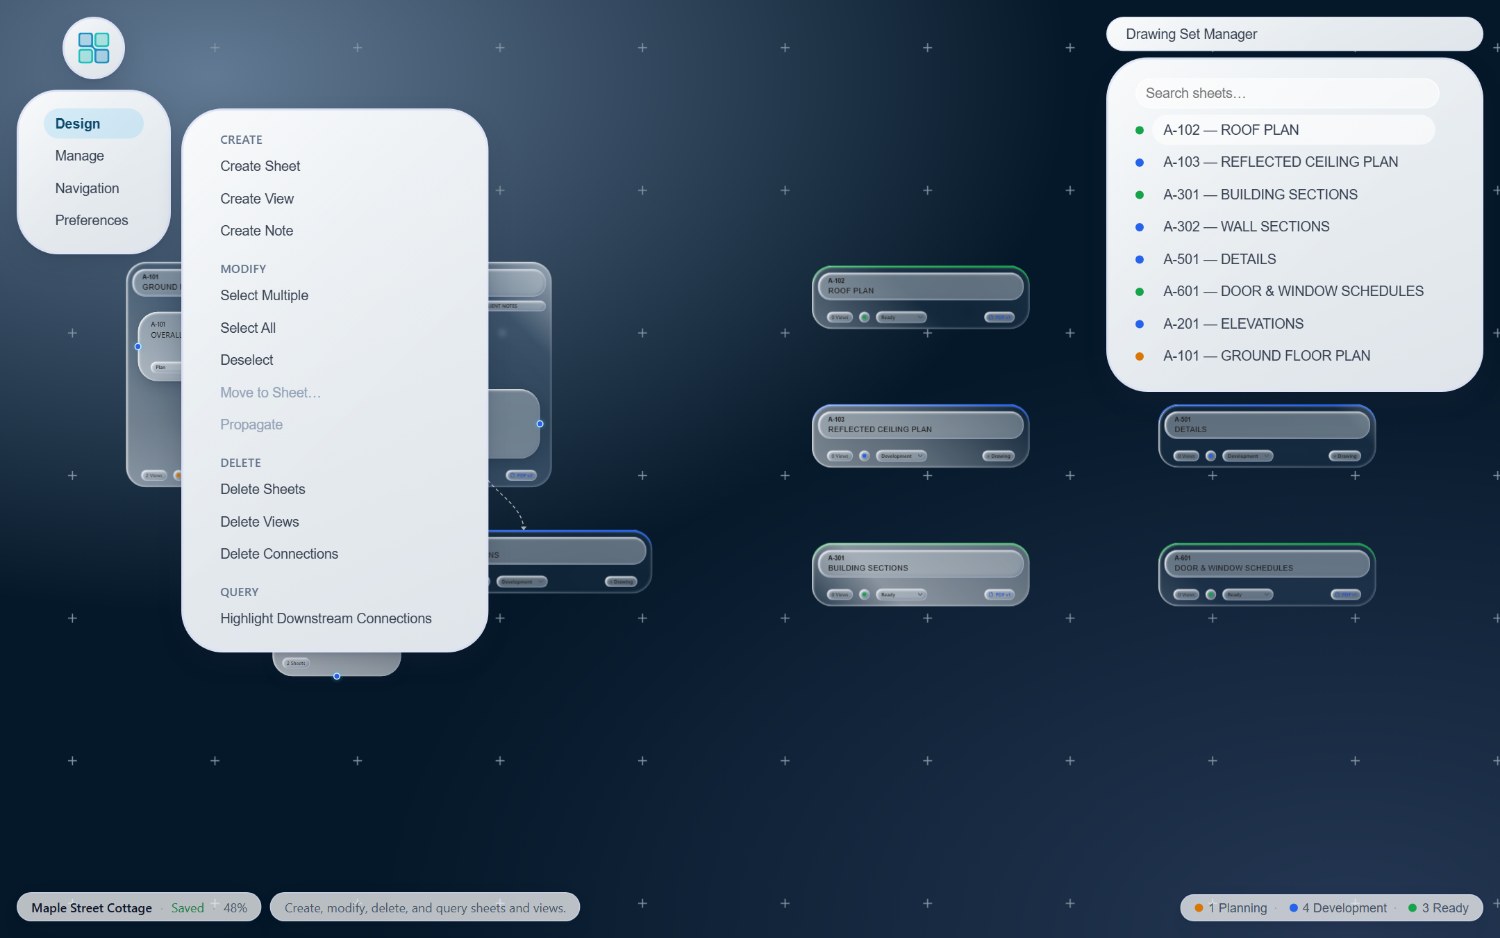
Open the main menu → Create View
The tool arms and the hint pill reads "Click a sheet to place the view. Press Esc to cancel."
-
Click a sheet
Views live inside sheets, so click the sheet rather than empty canvas. The view drops onto it, and the sheet grows to include it.
-
Press Esc when done
Place as many views as you like, then press Esc to disarm the tool.
Name the view
Views use the same select-then-edit rule as sheets: click once to select, click again, while it's the only selection, to unlock the title and number fields. Or double-click the view (or right-click → Properties) to open its full properties.
Attach a drawing to a view
There are two ways to give a view its artwork.
Upload a PDF or image
-
Open the view's properties
Double-click the view, or right-click and choose Properties.
-
Click Upload a PDF or image to this view
Pick a file from your computer.
-
The artwork appears
The view now renders the drawing right on the canvas.
Attach from your sketch library
-
Open the sketch menu
Click the picture button on the dock rail to open your sketch library as a menu of draggable rows. (Right-clicking a view and choosing Attach Sketch opens it too.)
-
Drag a sketch onto a view
Drop it on the view to attach it. Reusable across sheets and projects, see Reuse sketches across projects.
Manage an attachment
- Remove: select the view, then main menu → Remove Attachment.
- Download: select the view, then main menu → Download Attachment.
- Replace: upload a new file from the view's properties; it takes the place of the old one.
Bring the real drawings onto the canvas
Attach the artwork to each view and your plan stops being boxes. It becomes the set.