
Create your first project and sheet
Every drawing set in SketchWeave lives in a project, which gives you an infinite canvas to fill with sheets. Here's how to create your first project, drop a sheet, and find your way around.
Create a project
-
Open SketchWeave and sign in
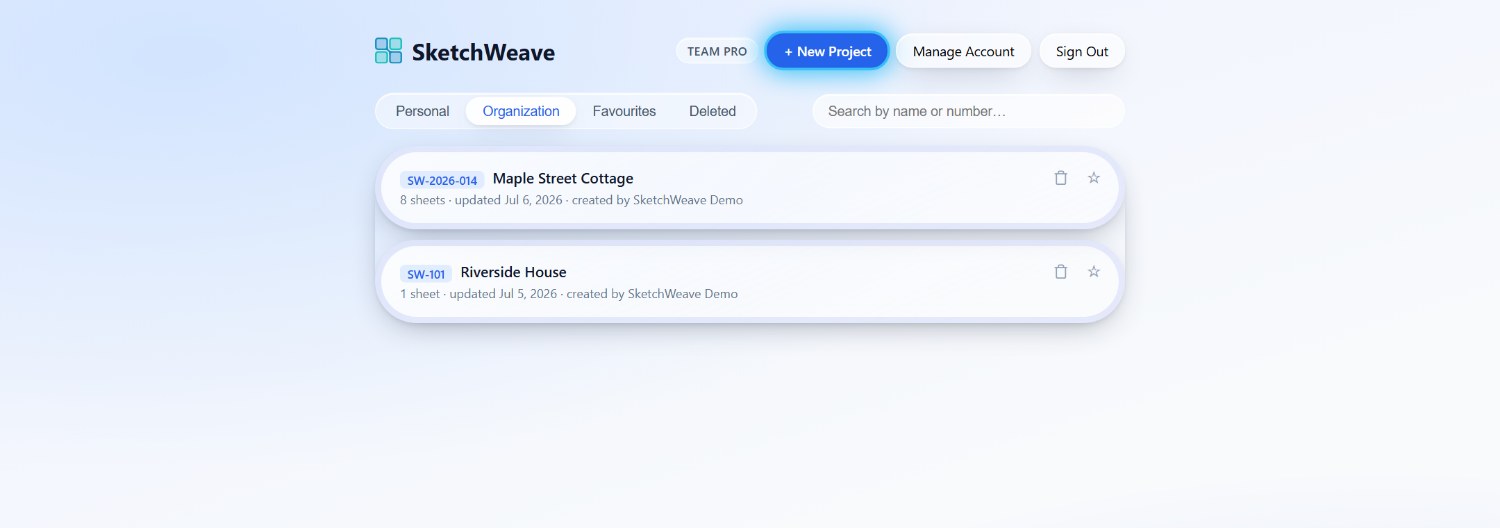
You land on the project home screen. It lists your projects, plan badge, and account controls.
-
Click + New Project
It's at the top right. Give the project a name and, if you like, a project number, then create it. (New Project is hidden on phones because laying out sheets requires the canvas.)
-
The canvas opens
Your empty project opens on the infinite canvas, with a rail of round frosted-glass dock buttons on its left edge. The buttons open the main menu, sketch menu, sheet list, and preferences.
Add your first sheet
-
Open the main menu → Create Sheet
Open the main menu by clicking the pencil button on the dock rail, then click Create Sheet under the Create heading. The tool stays armed and the hint pill at the bottom reads "Click in the canvas to place the sheet. Press Esc to cancel."
-
Click the canvas to place it
Click anywhere on the empty canvas to drop the sheet where you clicked.
-
Put the tool away
Press Esc or click Create Sheet again to disarm it.
Name and edit the sheet
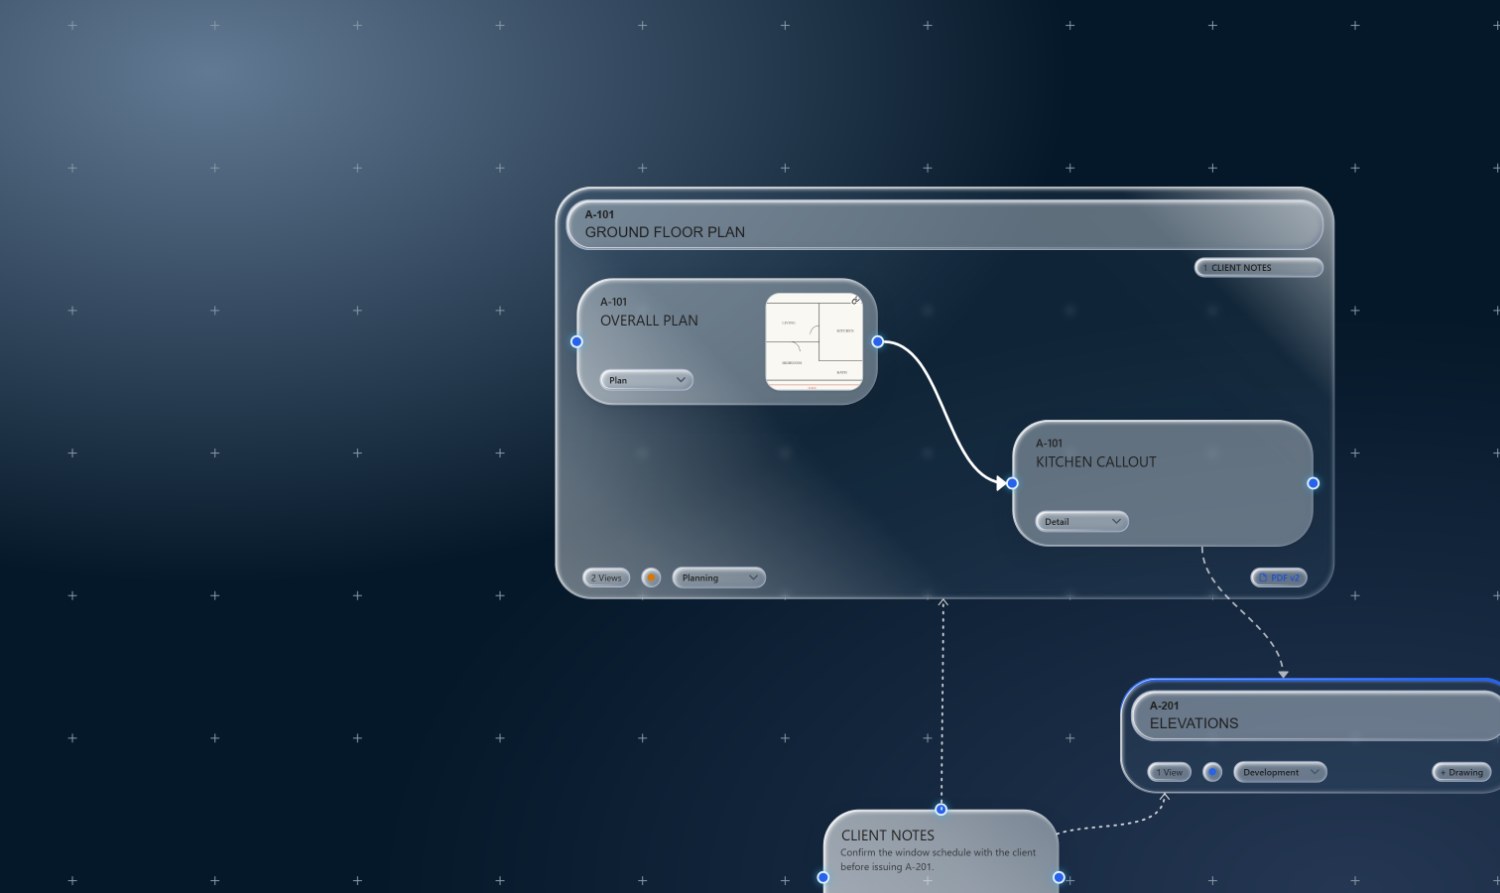
SketchWeave uses select-then-edit: click a sheet once to select it, then click it again while it's the only thing selected to unlock its number and title fields. A plain click-drag never enters edit mode, so you can always move sheets freely without fear of retyping.
For everything else, including status, owner, notes, and the sheet's drawing, double-click the sheet (or right-click and choose Properties) to open its full properties.
Find your way around
- Pan: drag an empty part of the canvas or scroll.
- Zoom: use the scroll wheel or a trackpad pinch.
- Select: click a node, drag a marquee on empty canvas to box-select, or arm main menu → Select Multiple to click several one by one.
- Frame content: open the main menu's Navigate section. Zoom to Fit frames everything; Zoom to Selection frames what you've selected.
- Go home: click the SketchWeave logo in the top-left corner to return to your projects.
Ready to lay out your set?
Open SketchWeave and start with a single sheet, the rest of the set grows from there.